install
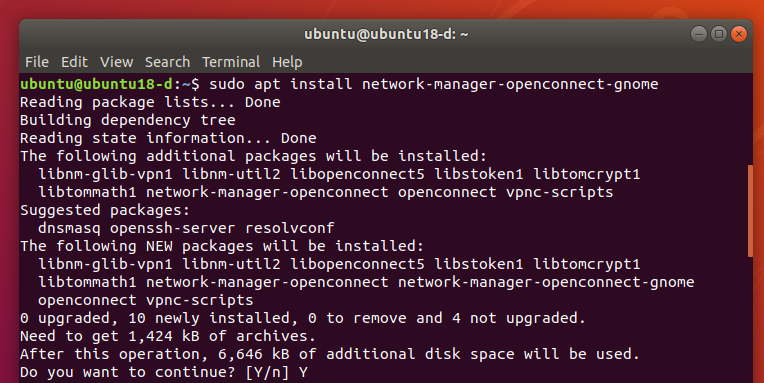
Enter this in a terminal window:
sudo apt install network-manager-openconnect-gnome
configure
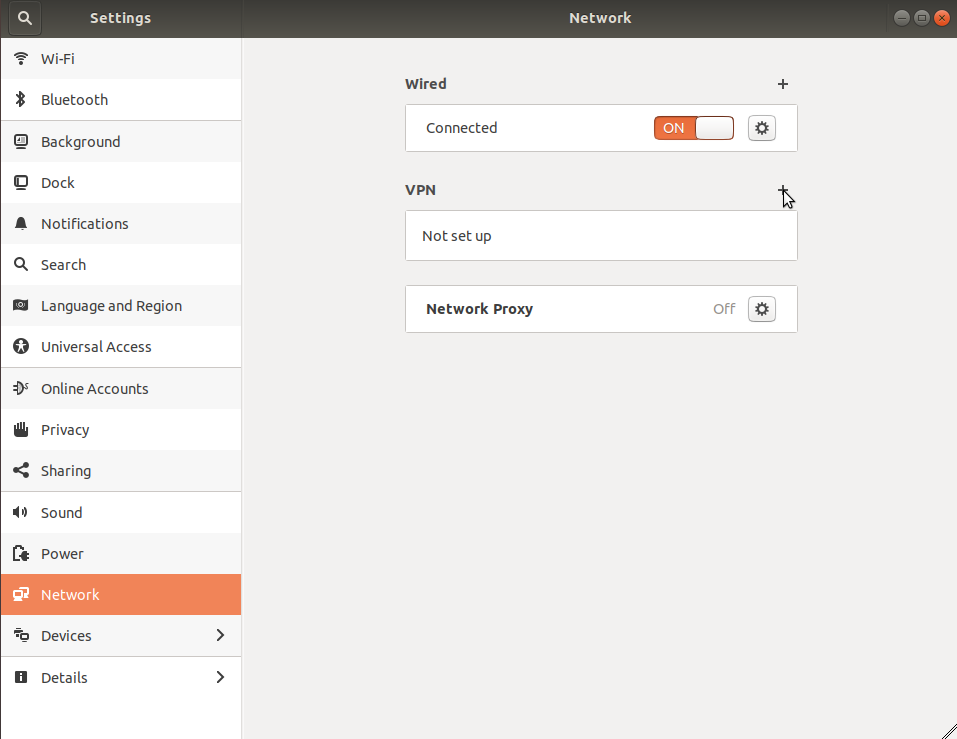
open network settings
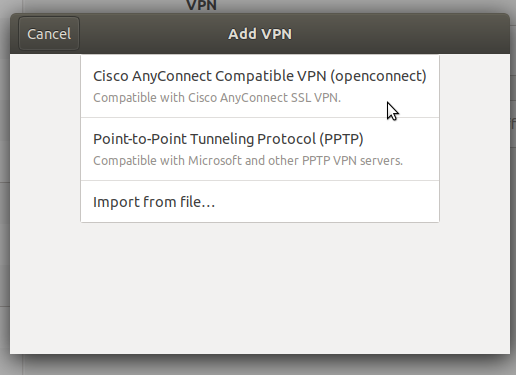
select "+" on VPN section
select "Cisco AnyConnect"
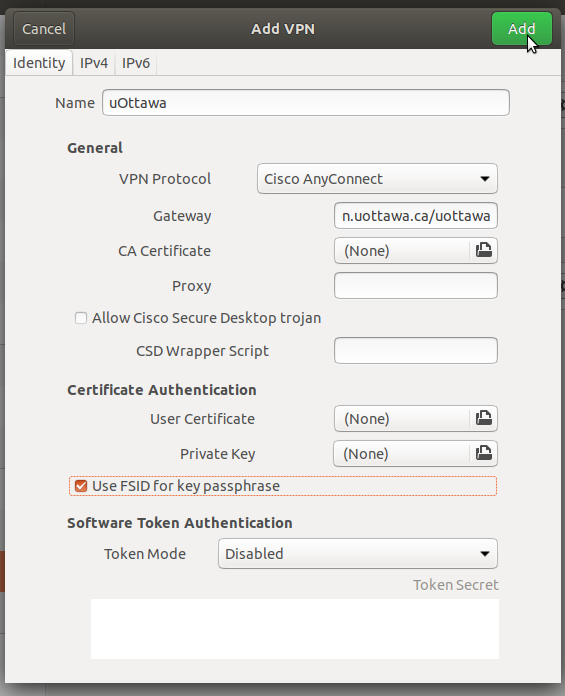
Enter "uOttawa" in Name field.
Enter "uovpn.uottawa.ca/uottawa" in Gateway field.
Select "Use FSID for key passphrase".
Press "Add".
Close Settings.
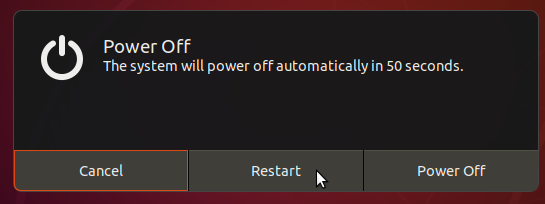
NOTE: it is necessary to restart to complete configuration.
activate
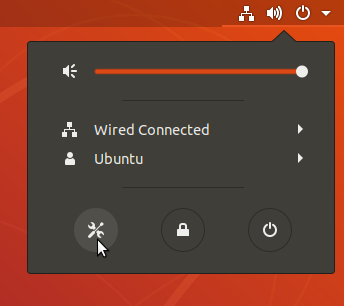
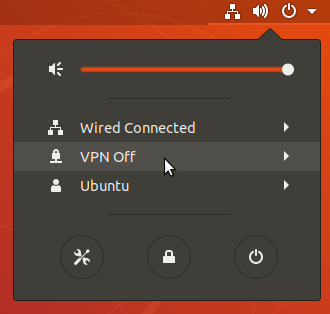
Select upper right corner.
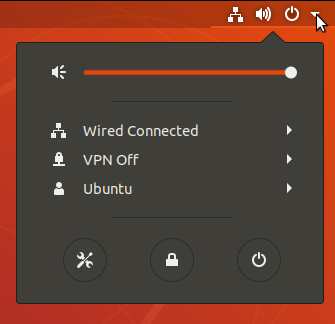
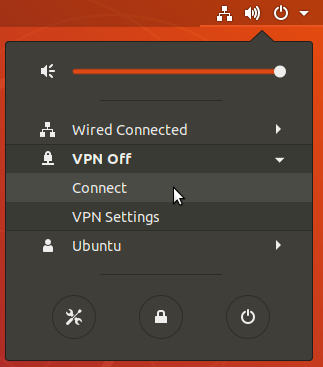
Click on "VPN Off".
Click on "Connect".
Enter Username and Password, and click on "Login".
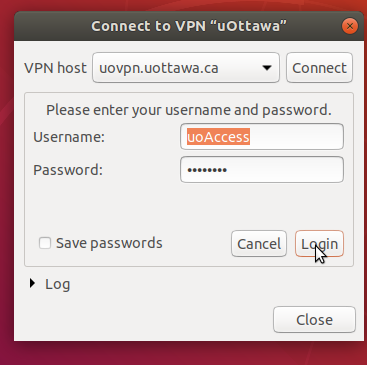
without MFA enabled. done
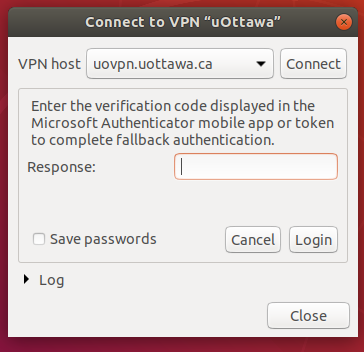
If using MFA, you will get the notification on your phone or the following popup will appear if you use the token. Enter the 6 digits into
the "Response" field.